How to create and manage cPanel Account in WHM?
The first step to creating and managing your cPanel account is accessing your cPanel. We assume you have already purchased a host’s domain name and hosting plan. To log in to your cPanel to create and manage a cPanel account, you have to access your web host manager.Step 1 - Login to cPanel
The easiest way to log in to your cPanel is to type your website address, followed by a colon and 2083. For instance, if your website is www.domain123.com, to access your cPanel, you have to type the following www.domain123.com:2083. This will automatically take you to the login page, where you need to input your username and password sent to your email. If you successfully log in, it will redirect you to your website’s control panel, containing all the settings you need.Step 2 – Creating an account
Once you have access to your website setting, you can click the “Account Functions.” The next process is to click on the “Create a New Account.”Step 3 – Fill in the necessary information
After clicking the “Create a New Account,” a new window will open, requesting information such as domain, username, password, and email. Ensure you fill the information in the fields accurately. The domain name represents the primary name for your cPanel account, whereas the username is the name you want to use when logging into the cPanel. Every username is followed by a password, which you can provide to access the cPanel. However, the email address is where you will receive cPanel notifications.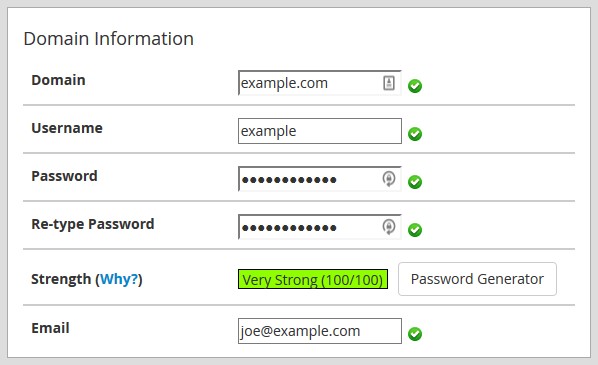
Step 4 – Select Package
Here, you have to select the desired package of your choice.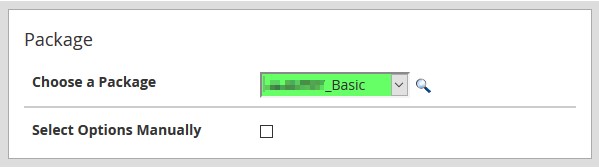
Step 5 – select theme
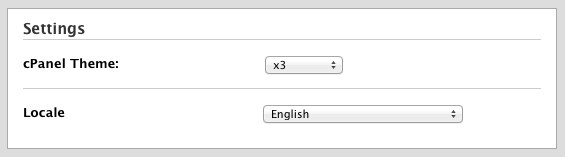
This section allows you to select your preferred language and theme.